

So, you’ve decided to dive into the world of real PC gaming by building your own rig. Congrats! Assembling a gaming PC can be a super rewarding experience, and it’s not as intimidating as it might seem initially.
You can aim for high-end performance or just want to be able to play the latest games smoothly – this guide will help you through the process anyway. So, let’s break it down step by step.
1. Plan Your Build
Source: freepik.com
Before you even touch a screwdriver, you need a comprehensive game plan. Start by deciding what kind of games you want to play and in what settings.
Are you aiming to run AAA titles at ultra settings with the best graphics, or are you more focused on eSports titles that demand high frame rates and low latency? Your gaming preferences will significantly influence your component choices.
Determine Your Gaming Needs
Different types of games require different levels of performance from your hardware. AAA games, such as “Cyberpunk 2077” or “Red Dead Redemption 2,” demand powerful CPUs, high-end GPUs, and substantial RAM to run smoothly at high or ultra settings.
In contrast, eSports titles like “League of Legends” or “CS” prioritize frame rates over graphical fidelity, meaning you might focus more on a powerful GPU and a high-refresh-rate monitor rather than maxing out on every component.
Set a Budget

Source: freepik.com
Establishing a budget is crucial because high-end components can be very expensive. Knowing your financial limits helps in making balanced choices without overspending.
A well-defined budget allows you to allocate funds effectively, ensuring you can prioritize the most critical parts of your build without sacrificing overall performance.
Consider creating a spreadsheet to track potential expenses and see how different configurations fit within your financial constraints.
Research Components
Thorough research is essential for a successful build. Look up reviews, benchmarks, and user experiences for each component you’re considering.
Websites like PCPartPicker are invaluable tools for comparing parts and ensuring compatibility.
They allow you to see user ratings, prices from various retailers, and compatibility notes to avoid potential issues with your build.
Read multiple sources of reviews and watch video benchmarks to get a comprehensive understanding of each component’s performance and reliability.
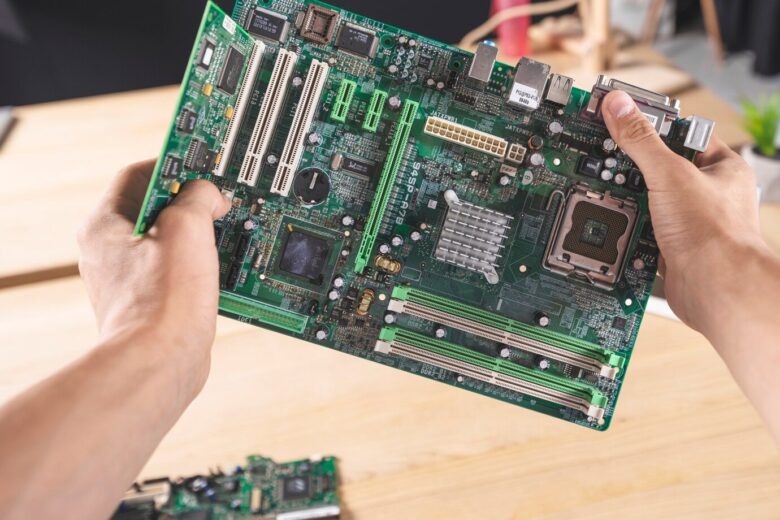
2. Choosing Components
Now, let’s discuss parts. Here are the main ones you’ll need:
- CPU: the brain of your PC. Intel and AMD are the main players here. For gaming, AMD’s Ryzen series and Intel’s Core series are popular choices.
- GPU: the most critical part for gaming. Nvidia’s GeForce and AMD’s Radeon are the top brands. Get the best GPU you can afford, as it directly impacts gaming performance.
- Motherboard: Make sure it’s compatible with your CPU. It’s the backbone that connects all your components.
- RAM: 16GB is a good starting point for modern gaming. Go for higher speeds if your motherboard supports it.
- Storage: SSDs (Solid State Drives) are a must for fast load times. NVMe SSDs are even faster. A 500GB SSD for your OS and a 1TB HDD for additional storage is a common setup.
- Power Supply Unit (PSU): Don’t skimp on this. A reliable 80 Plus certified PSU ensures stable power delivery and protects your components.
- Case: Choose a case that fits all the parts, offers good airflow, and suits your aesthetic preferences.
- Depending on your CPU and GPU, you might need additional cooling. Stock coolers are usually fine, but aftermarket options offer better performance.
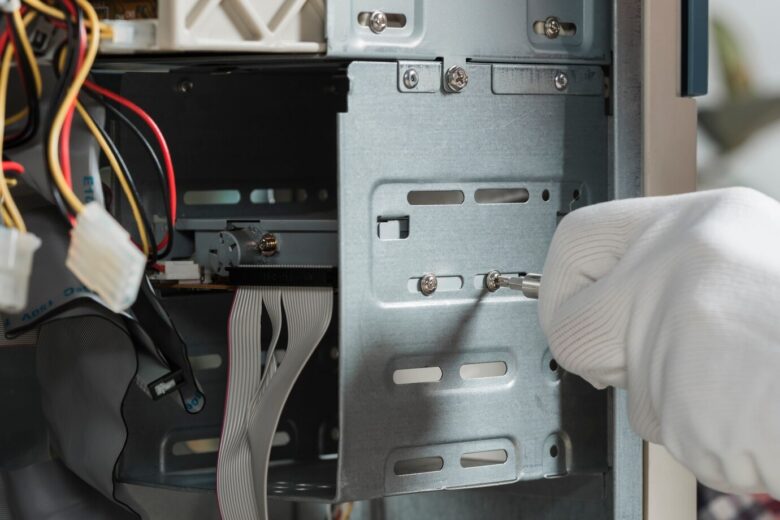
3. Assembly Time

Now comes the fun part – putting it all together. For starters, work in a clean, static-free environment. Have all your tools ready, like screwdrivers and cable ties.
Step-by-step
- Install the CPU: Carefully insert the CPU into the motherboard socket. Add thermal paste if necessary, then attach the cooler.
- RAM: Slot your RAM sticks into the motherboard. Ensure they click into place.
- Motherboard into case: Secure the motherboard in your case with the provided screws.
- Power supply: Mount the PSU in the case and connect it to the motherboard.
- Storage: Install your SSD and HDD. Connect them to the motherboard and PSU.
- GPU: Insert the GPU into the PCIe slot on the motherboard. Secure it with screws and connect the power cables.
- Neatly arrange and tie down cables to ensure good airflow and a tidy build.
4. First Boot and OS Installation
With everything in place, it’s time to boot up. Connect your monitor, keyboard, and mouse. Turn on the PSU, and hit the power button. If everything is connected properly, you should see the BIOS screen.
- BIOS settings: Ensure your storage devices and RAM are detected. Adjust boot order so your installation media (USB or DVD) is first.
- Installing the OS: Insert your installation media and follow the prompts to install the operating system (usually, Windows is best for gaming).
5. Keeping Your Pc in Good Working Order
Source: freepik.com
Now that your gaming rig is up and running, let’s talk about maintenance to keep it in top shape. First of all, make sure your drivers and operating system are updated. GPU drivers especially get frequent updates that can improve performance.
Next thing is the issue of dust and temperature. Every few months, open your case and gently clean out any dust using compressed air. Pay extra attention to fans and filters. Also, use software like HWMonitor to keep an eye on your component temperatures. If they get too hot, it might be time to improve your cooling solutions.
Additionally, backup your important files regularly. You can use cloud services or external drives to ensure you don’t lose your game saves or other crucial data.
And, in case you need it, find a reliable Computer Repair Service to turn to in case you need something fixed. Sometimes experts’ assistance is just necessary.
Conclusion
Building a gaming PC is an undertaking that can give you a deeper appreciation for the hardware that powers your games. Each step is a solid learning experience. Take your time, follow the tips provided above, and soon you’ll have a custom-built gaming machine that’s ready to handle whatever games you throw at it!


