

Starting a travel blog is not the most challenging task you can think of. However, there is certainly a bit of a learning curve and some things to learn on the way. There are essential tech things to know before starting a travel blog that you need to know.
Today, we’ll discover the necessary steps and, in addition, the things to know before you start a travel blog. From the very beginning with deciding your domain name and brand till the end when you’ll finally start writing some content, we’ve got you covered. You might think that there are too many travel blogs online but there is always room for you to succeed.
Before we start, make sure to check Tricks and Trips to know more about travel blogs. Now, that’s going to be an interesting article and instrumental for you to know before creating a successful travel blog. Take a pen and paper, get ready to take notes, and start enjoying the blogger journey.
1. Choose Your Domain Name

Source: cntraveler.com
Choosing your domain name is an important thing to know before starting a travel blog that you should pay a lot of attention to. In fact, your domain name is extremely important for different reasons.
First of all, think about a generic yet personal domain name that you will be able to keep for several years. For instance, we wouldn’t recommend picking domains like “Travelingaroundamerica.com” or “asiabesttips.com”. In fact, you might be traveling or traveled to America, but if your goal is to write about several countries, this domain wouldn’t make sense. Same goes for Asia. Unless you only want to talk about Asia, skip it.
A good domain name can be “Stevenaroundtheworld.com”, “stepsaroundtheworld.com” and more. Lastly, avoid popular words such as “adventure”, “traveler”, or even “nomad”. These are words that are overused and won’t help you in the long-run.
Last but not least, your domain name should describe who you are or what you write about. If you want to talk about luxury travel, then mention it, same goes for budget stays or food travels.
2. Sign Up For Hosting

Source: mojsajt.me
Now that your domain name is available and chosen, you’ll need to register it and to host it on a platform. There are several companies where you can host your website. The most popular is Bluehost and you can host your website on it for only $3.95 a month.
You’ll be able to choose between 3 plans – Basic, Plus, and Choice Plus. Of course, the more you pay and the more you get. However, we’d recommend you to start with the Basic plan and upgrade at a future stage if needed.
After that, choose the “I have a domain name” if you already purchased your domain, or “New Domain” to register it with Bluehost. There are several websites to buy a domain name, but we recommend doing with it with Bluehost to keep the process easy. Once this is done, fill in your details, purchase your plan, and you’re good to go. Registering your domain on Bluehost is a very simple process that will take a few minutes at most. If you are looking for a Bluehost alternative read here for more will provide detailed information from Diggity Marketing.
3. Install WordPress
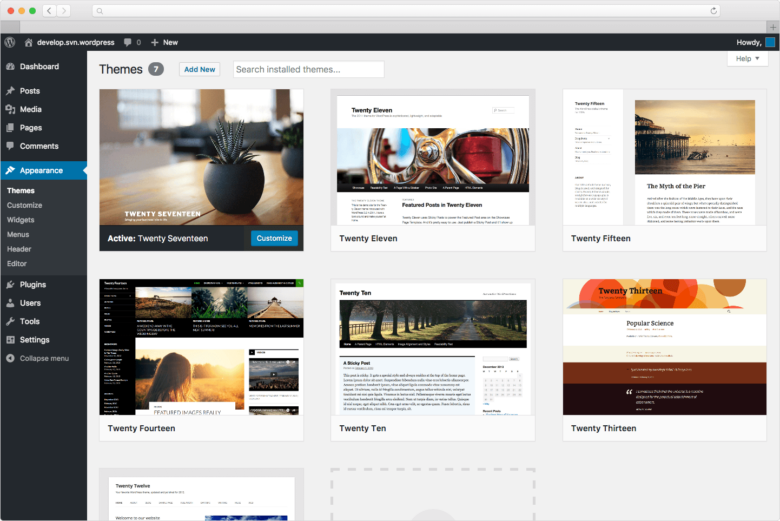
Source: wordpress.org
Now that your domain name is registered, the next step is to install WordPress. This is another easy process. Go onto your Bluehost portal, go to “My Sites”, and click on “Create Site”. Once you’re there, type your domain name and your tagline (optional). After that, WordPress will ask if you want to set up a directory, but that isn’t necessary just yet, so feel free to skip this step.
You are now on WordPress, and this is your new workplace. If you haven’t worked on WordPress before, the platform might look a little overwhelming and, let’s be honest, there’s definitely a learning curve.
Get prepared to learn a lot about SEO, about WordPress in general, and above all, to enjoy your travel blog journey. Before you start building your website, though, you should add some plugins to it, and this takes us to the following point.
4. Add and Install Plugins to WordPress
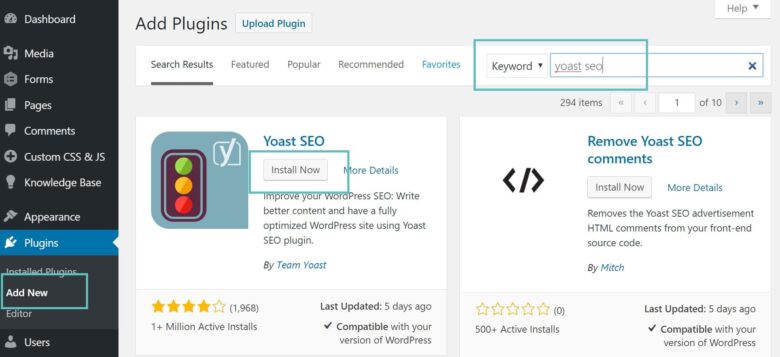
Source: kinsta.com
Plugins are essential to personalize your website in the backend, to add features, and to increase your traffic. Some of the most important plugins available online can greatly help your content to grow and to optimize your travel blog posts.
For instance, Yoast SEO is an essential plugin for WordPress you should install. It will help optimize your articles, give you expert tips on SEO such as keyword density and readability score.
BackWPup and Cache Enabler are 2 other plugins that will benefit potential backup issues and website speed respectively. These 2 are important to rank your domain on Google in the long term.
Lastly, Akismet is a brilliant plugin to avoid spam and junk in your comment section. While this might be helpful at a later stage, it’s certainly a good addition to your travel blog.
How to add plugins to WordPress?
To add a plugin onto WordPress, simply go to the “Plugins” section and select “add new”. After that, input the plugin name in the search box, install it, and activate it.
Once done, the plugin will be integrated onto your WordPress travel blog. We’d recommend checking online tutorials to know the benefits of each plugin more in-depth.
5. Plan to Write Good and Creative Content

Source: travelandleisure.com
Managing a blog is a job and, if you’re willing to eventually make money out of it, there’s a lot to do behind the scenes. In fact, building your travel blog and writing unique content is only the beginning.
You will need to research interesting keywords, write unique content, keep your website up to date and fast, resize images, optimize to rank on Google, and more. Creating a travel blog and advertising your articles to make the most of your work is essential.
A good travel blog post should be at least 1500-word long with several keywords in it and personal recommendations. Lastly, check other travel blogs to get some inspiration and start creating and personalizing your brand.


