

There are many routers with several different SSIDs. However, sometimes you need more control over your WiFi networks. For example, you might want to configure your Google Home manually to connect with a specific network of your choice without using the app on an Android or iOS device.
It can be done easily by configuring your router settings appropriately for that purpose. This guide will show how you can change Google Home WiFi network settings in order to do that.
What’s the best way to change Google Home WiFi network settings?
If you’re not sure what kind of router you have, open up any web browser and type in 192.168.1.1. If this IP address doesn’t work, try another one from the list below:
http://192.168.0.1
http://192.168.2.1
http://192.168.0.254
http://192.168-.49
- If you have a Linksys router, open up any web browser and type in 192.168.1.1
- If you have a D-Link router, open up any web browser and type in 192.168. 0.1 or 192.168..2
- If you have a Belkin router, open up any web browser and type in 192.168..0
If none of the above worked for you, please consult your router’s manual for its default IP address to enter into the address bar on your web browser (examples: “http://wwwxxxargs”).
The page you’ll see looks something like this:
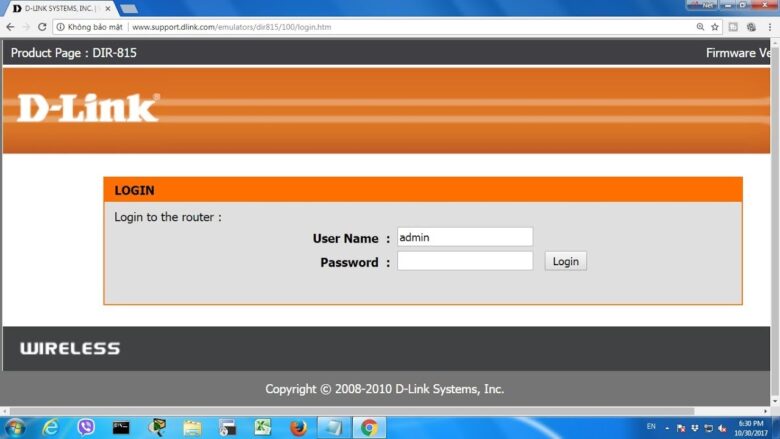
You will typically need to log in with a username and password. The following combinations were known to work for some routers:
username: admin password: admin username: blank password: admin username: user password: user username: ##blank##
password: whatever the default is on your router, look for it in the manual or try “admin” first.
If you can’t find out what the default is, restart the router and watch for a sticker somewhere on its body that would indicate how you can log in. Please note that there’s no universal default password that works for all routers!
We recommend checking out the list of common default router passwords and usernames.
If nothing of the above helps, your best bet is to disconnect from your current WiFi network, power-cycle your router (unplug its power cable for 60 seconds), and set it up again.
Please notice that the rest of this article assumes you know how to connect to your router using a web browser. If you don’t, please consult whoever supplied your WiFi network’s manual instead.
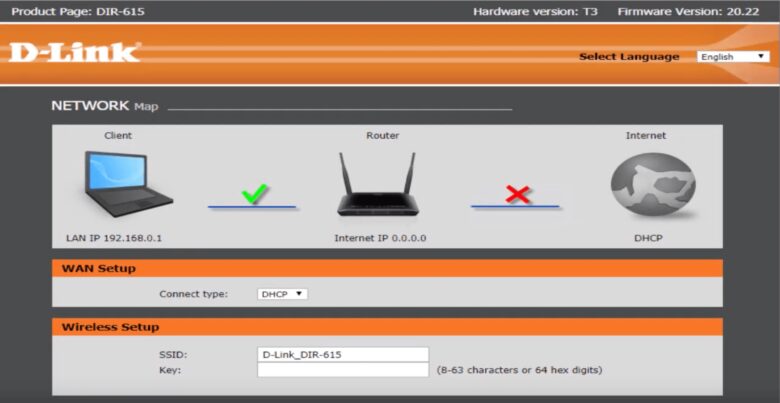
Once logged in, you will need to make some changes in your router configuration page. There are three different sub-menus where exactly these changes can be made: “Setup”, “Wireless” or “Network”.
The exact name depends on each model’s specific manufacturer, but it’s usually relatively easy to find – just look through the menus until you find something that looks like it could be to networks! It’ll have a name like “Wireless Setup” or “Network Settings”. In this guide, we’ve tried to stick with the most common names for these menus.
If you don’t see any of those options, look around for a different sub-menu called something like “WLAN”, “Advanced Wireless Settings”, etc. If you still can’t find anything related to networks after going through all menus and sub-menus, let us know in the comments!
Once you’ve found it, go there and make sure that you do not have either your computer/laptop connected through WiFi or a mobile phone connected via WiFi simultaneously – if both are connected at the same time, Google Home may get confused as to which network it should connect to. Once you’ve verified that you’re only connected to the wireless networks from the same router, open up a new tab in your web browser and type in 192.168.1.1 again.
The page may say something like “You are already connected to this network” right next to a green checkmark icon at the top of the browser window – if so, click on it and then disconnect from that network by clicking on “Disconnect”. You will still have to wait for 10 seconds or so until Google Home reports back its current connection status after each step below!
Please ensure Google Home is not currently playing anything before you do these steps or it might fail to play when trying to switch networks! It’s best if it isn’t running at all either.
Configuring Google Home WiFi
- Step 1: Disconnect from your current WiFi network (i.e. disconnect from the one you were connected to).
- Step 2: While still on the router configuration page, look for a menu item called “DHCP Release”. If it exists, make sure it’s activated and click on “Save Settings”. Otherwise, there should be an option simply called “Release” or “Release DHCP” – activate that one and then follow the same procedure as above.
- Once both of these procedures have been started, wait at least 10 seconds before starting with steps 3 and 4! After waiting, look for a menu called something like “Wireless LAN Setup” where you’ll find options allowing you to add new wireless networks. Select this option, and follow these steps:
- Step 3: Find a menu item called “Scan” or just try entering the word “scan” if nothing else works. Activate it and wait for Google Home to show you a list of all available wireless networks in the area. It’ll have a name like “AP102” or similar – write down its exact name!
- Step 4: Write down the network’s security type as well – this is usually something like WPA/WPA2 PSK, WEP hex key, etc; look around for it next to some kind of input field on your router configuration page. For example, it could be written as AES (or TKIP) Enable at the end of an entry inside a menu called “WPA” or similar.
Google Home should now be able to connect to the wireless network of your choice, as long as you’ve entered all information correctly. If it was already connected to a specific WiFi network before doing these steps, it will disconnect from that one and switch over to the new one instead!
Once everything is done, you can close up all browser tabs and enjoy your newly configured Google Home device! Please note that any audio playback currently going on through Google Home might fail once a change has been made – if this happens, simply wait for 10 seconds and then press the play button again on your phone or tablet.


