

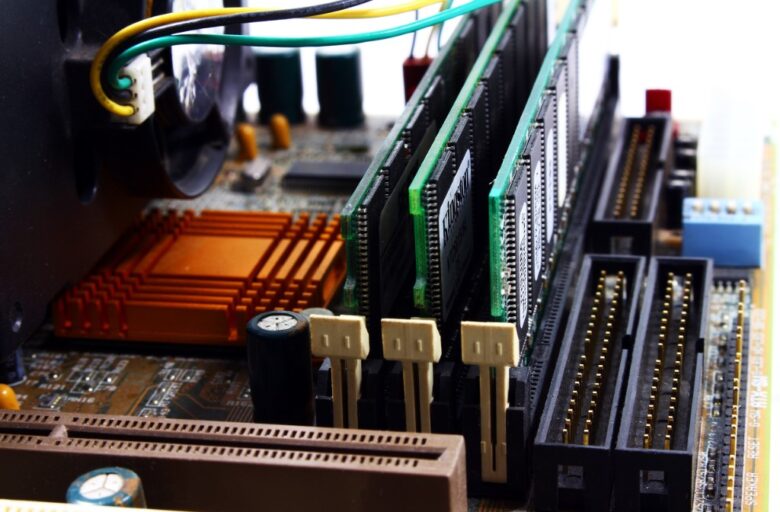
Random Access Memory (RAM) is computer memory for data your machine actively uses. The more RAM your computer has, the more data it can store for quick access, allowing it to handle a higher number of tasks or more resource-intensive ones.
Optimizing your RAM is a valuable skill that will help you fully use your computer’s capabilities. It will let your programs and applications have enough resources to run efficiently, minimizing slowdowns while enjoying your favorite games or multitasking. Follow these tips to optimize your RAM and unlock your machine’s performance.
Track Used Memory and Run Clean-Up Processes
The first step is understanding your RAM usage patterns. Windows offers a built-in tool called Task Manager to monitor memory consumption. Here’s how to access it:
- Right-click on an empty space in the taskbar.
- Select “Task Manager” from the menu that appears.
Once the Task Manager opens, click on the “Memory” tab. This section lists all running programs and how much RAM each consumes. Identify applications with high memory usage, especially those you’re not actively using. Right-click on such programs and select “End task” to free up the occupied memory.
Make a habit of checking your Task Manager periodically. Close any unnecessary programs running in the background to ensure your RAM prioritizes essential tasks.
Disable Unwanted Startup Programs
Source: makeuseof.com
Many programs automatically launch upon system startup, consuming valuable RAM before you begin using them. Disabling or uninstalling unnecessary startup programs can improve boot times and free up RAM for more critical tasks. To manage startup programs in Windows:
- Open Task Manager.
- Click on the “Startup” tab.
- This section shows a list of programs configured to run at startup. Analyze each program and identify those you don’t need immediately upon booting.
- Right-click on unwanted startup programs and select “Disable.”
Avoid disabling essential system programs, such as Windows processes, as it can cause instability, crashes, or prevent you from using your PC entirely. Always research a program’s purpose before making any changes.
Try a Different Browser
Many web browsers are notorious for consuming high amounts of RAM. A popular example is Google Chrome. Switching to a lighter alternative can free large amounts of memory, particularly for users with limited RAM configurations (8GB or less). Here are some popular options known for their efficiency:
- Opera
- Vivaldi
- Mozilla Firefox
These browsers offer comparable features to Chrome while consuming less memory. Experiment with different browsers to find one that suits your needs and browsing habits.
Software Updates

Source: techdonut.co.uk
Keeping your software up-to-date is crucial for optimal performance and memory management. Software developers often release updates that include optimizations and bug fixes, which can improve memory usage and overall system stability.
Ensure that your operating system, web browser, and other frequently used applications are updated to their latest versions. Many applications also offer automatic updates, giving you the peace of mind that it will always use the latest version without manual intervention.
Use the MSConfig Menu to Disable Third-Party Services
If you’re a gamer, third-party applications often run background services that consume your gaming PC’s RAM without your knowledge. You can disable these services using the MSConfig utility in Windows:
- Open the Run dialog box by pressing the Windows key and R.
- Type in “msconfig” and click Enter.
- In the System Configuration window, click on the “Services” tab.
You’ll see a list of all running services, including those from Microsoft and third-party applications. Be cautious here, as turning off essential services can cause software malfunctions. Here’s what to do:
- Check the box labeled “Hide all Microsoft services” to avoid accidentally turning off critical system functions.
- Carefully review the remaining list of services. Research any unfamiliar services online to understand their purpose.
- Uncheck the box next to the non-essential services you want to disable.
- Click “Apply” and “OK” to save the changes.
- Restart your computer for the changes to take effect.
Remember that this step requires caution. To avoid disrupting your system’s functionality, only disable services you’re confident are unnecessary.
Set Virtual Memory
Source: wccftech.com
When your physical RAM reaches capacity, Windows uses some of your hard drive space as virtual memory. This system acts as an overflow area for your system’s memory, allowing programs to continue running. This setup can also indirectly inform you if you want to know how much RAM you need for gaming. For instance, if your system needs virtual memory while running a game, you may need a RAM upgrade.
While not as fast as RAM, virtual memory can prevent system crashes caused by RAM overload. However, using excessive virtual memory can slow down your PC because of the slower read/write speeds of hard drives compared to RAM. To access virtual memory settings in Windows:
- Open the Start menu and search for “Advanced system settings.”
- Click on “View advanced system settings.”
- Under the “Performance” section, click the “Settings” button.
Go to the “Advanced” tab and click on the “Change” button under the “Virtual Memory” section.
A new window will appear, displaying virtual memory settings for each storage drive on your system. Here, you have two options:
- Automatically manage paging file size for all drives. This is the recommended option for most users. Based on your system configuration, Windows will automatically allocate the optimal amount of virtual memory.
- Manually set custom size. This option is for advanced users who understand the potential drawbacks of excessive virtual memory usage. It’s generally recommended to consult online resources or system performance guides before manually adjusting these settings.
Using an SSD (Solid State Drive) or an M.2 drive as your primary storage can significantly improve virtual memory performance compared to a traditional HDD (Hard Disk Drive). However, even with an SSD, relying heavily on virtual memory can impact system performance. The goal should always be to optimize RAM usage to minimize dependence on virtual memory.
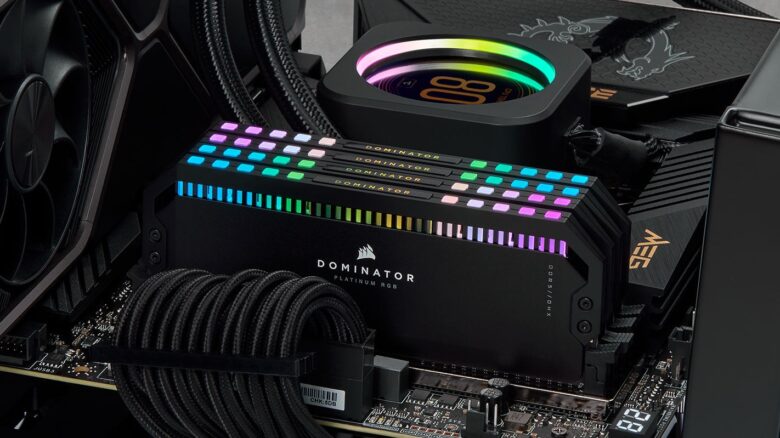
Enable XMP/EXPO Profiles
Source: ign.com
If you’re comfortable venturing into your system’s BIOS settings and have RAM that supports it, enabling XMP (Intel Extreme Memory Profile) or EXPO (AMD Extended Profiles for Overclocking) can unlock your RAM’s full potential. These profiles allow your RAM to run at its advertised clock speeds, potentially leading to performance gains.
Below is a general guideline for enabling XMP/EXPO profiles, but you will need to consult your motherboard manual for specific instructions for your setup:
- Restart your computer and enter the BIOS setup screen (usually by pressing a specific key during boot, often referenced on the boot screen itself).
- Locate the XMP/EXPO settings within your BIOS. Depending on your motherboard manufacturer, this might be under the overclocking or memory settings menu.
- Select the appropriate XMP/EXPO profile for your RAM from the available options.
- Save the changes and exit the BIOS.
- Your computer will restart, and your RAM should now run at its advertised speed.
Optimize Your RAM for a Better Computing Experience
Optimizing your available RAM helps ensure your machine can allocate as many resources as possible to your programs and applications. Using every technique available to optimize your computer memory will boost its multitasking capabilities, prevent slowdowns, and help your machine run more smoothly.
The outcome is a computer offering a more enjoyable user experience, whether for daily work, multimedia tasks, or intensive gaming.


